Believe it or not, we're in an era where tools and devices can give kids the opportunity to explore, imagine, create and even have fun with technology. Google over the years has been working on numerous projects that'll help kids to create and share their own ideas through imaginative play. Having acquired the children's "Launchpad Toys", Google has released a new storytelling app dubbed Toontastic 3D, which is available for free on Android and iOS. Toontastic 3D is a playful storytelling app that empowers kids to create their own animated cartoons, the app was first unveiled in 2D version for iOS, but Google has decided to offer kids the opportunity to create their own imagination in 3D. So if you're a parent, and you want to teach your kids the steps to create animated cartoons with toontastic 3D, then here's how to get started.
Install Toontastic 3D
To begin with, head over to the Google Play Store or iTunes Store, then install Toontastic 3D. Once you have installed the app on your Android or iOS, open it and you'll be greeted with some cool animations. The app's main interface introduces an "Idea Lab" feature which showcases lovely cartoons created by other kids. The bottom left corner of the app unveils a 'Settings' button, which allows you to enable option between a simple character only or a full motion to both character legs, and arms.Create a Short Story
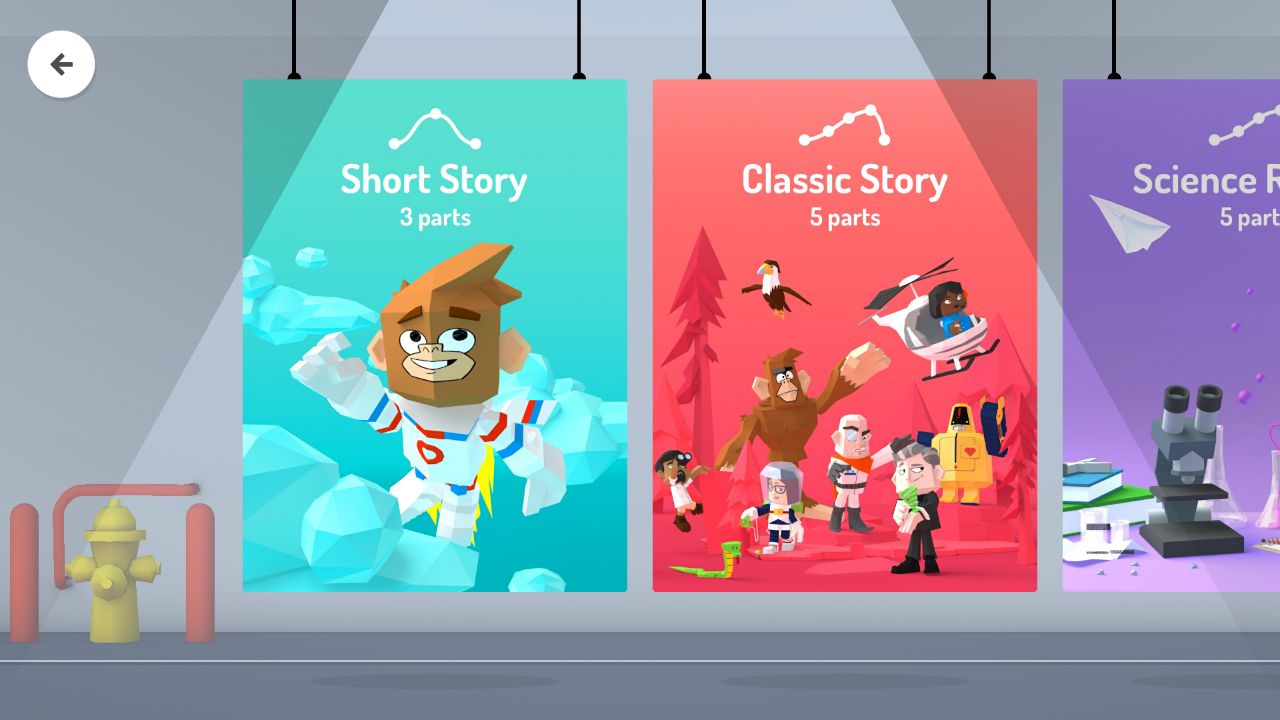
From Google toontastic 3D home page, tap on the big "+" button in the center of the app to start creating a new story. From here you'll be presented with an option to create 3 types of animated stories. These options are known as story arc whereby you can choose to create a short story with 3 parts, classic story with 5 parts, and a science report with 5 parts. For this article, we are going ahead with the short story option.Choose a Story Structure
Once you select the short story option, you'll be required to build an outline for the story you want to create. The standard structures include templates for the beginning, middle, and end. Where the 'beginning' is where you introduce the characters and the setting of your story, & the middle is where something happens, like a problem. Whereas the end is where your story wraps up. If you want to add or remove a template, simply tap on the "+" button at the bottom.Select a 3D Animated Background
The moment you decide which structure you want your story to carry, you'll be presented with some lovely and multiple 3D animated backgrounds to choose from. You can select either the background that suits your story or choose to create your own 3D animated background by tapping on the "Draw Your Own" button. We, geeks, over here at tech viola aren't good in drawing, so we're going to make use of the already pre-defined 3D animated background.Pick a Character
Once you've selected a background, the next step is to pick a character for your story. Similar to the background, toontastic 3D offers a huge number of already pre-defined 3D characters you can choose from, but you can choose to show off your creative skills by drawing your own character. To do this, simply tap on the "Draw Your Own" button.Then you will be presented with a drawing board, from here toontastic 3D app will offer various tools such as brush, color palette, eraser and fill color option and this you can use to draw your character. (As usual, we're not skilled in drawing, so I'd prefer editing a pre-defined character for my story). When you're done drawing your character, choose the amount of depth to create the 3D effect. Then give your character a name on the next page.
As we said earlier, we aren't good at going gaga and drawing our own character. So I'd prefer editing a pre-defined character. To do this, select a character for your story, then tap the edit button on the character's icon. From here, you'll be able to customize your character, simply select a color and tap on the body part you wish to be colored. Once you're done, choose your edited pre-defined characters and start your story.


No comments:
Post a Comment